All Categories > Learn the Basics > How can I track time?
How can I track time?
In this article, you will learn how to record and edit time entries both live and postdated.
Track time live
At the bottom left, you will find the time tracking controls. Here you can select tasks and start, pause, or stop time tracking to quickly create entries in real time.
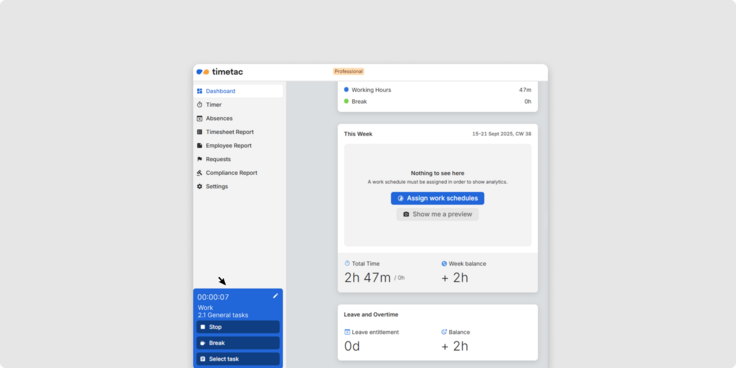
- Click Start to begin tracking time or Stop to end it.
- Click Break to temporarily halt tracking.
- Click Select task to choose a task you want to track time for.
Track time postdated
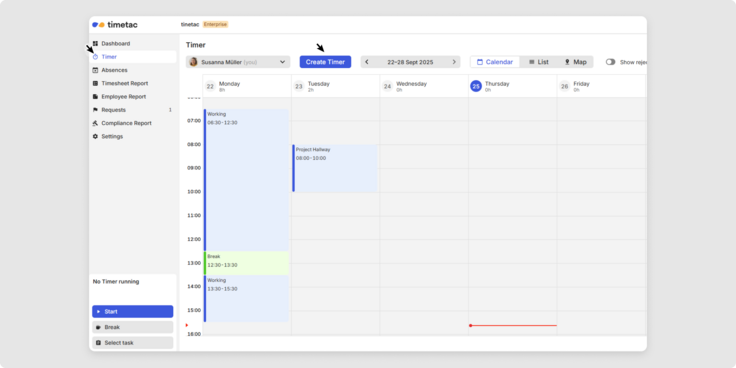
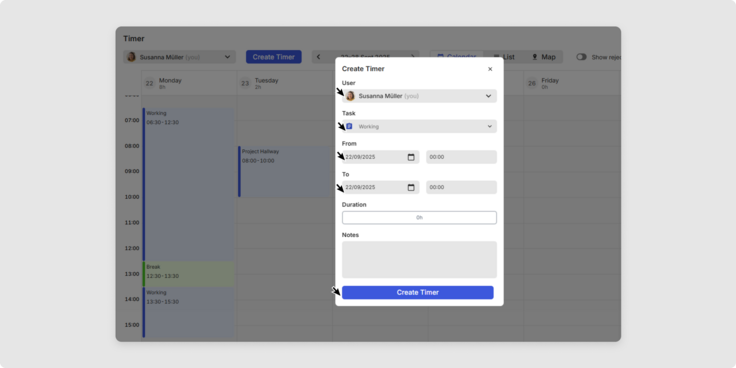
You can also log time entries afterwards. To create a retrospective time entry, either click the corresponding button or select a time range directly in the calendar.
Edit existing time entries
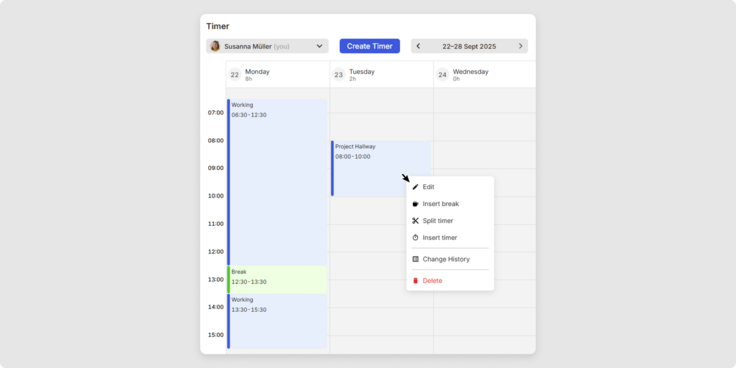
You can edit existing time entries in the calendar (and also add retrospective entries).
View existing time entries
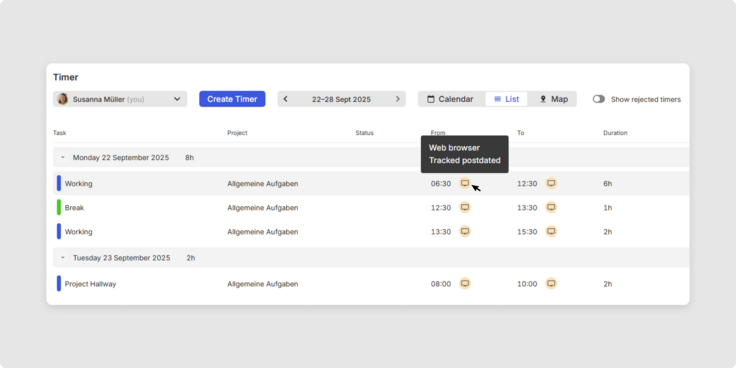
In the list view, you can review existing time entries – including start and end times, the device used, and whether the entry was recorded live or retrospectively.
You have now learned how to track time and manage your working and break times!
Was this Article useful for you?
Yes, this was useful
No, this was not useful
