All Categories > Integrations > How do I set up SSO access via Google Workspace?
How do I set up SSO access via Google Workspace?

This article shows you how to activate single sign-on via Google in TimeTac.
An initial step in connecting Google Workspace with TimeTac is creating and configuring a Google SAML application within your Google Workspace account. This application will be ‘in charge’ of communicating with our TimeTac system.
Prerequisites
You need a Google Workspace account with an active Super Administrator user.
Configure SAML-based Single Sign-On
1Sign in to your Google Workspace Admin Console.
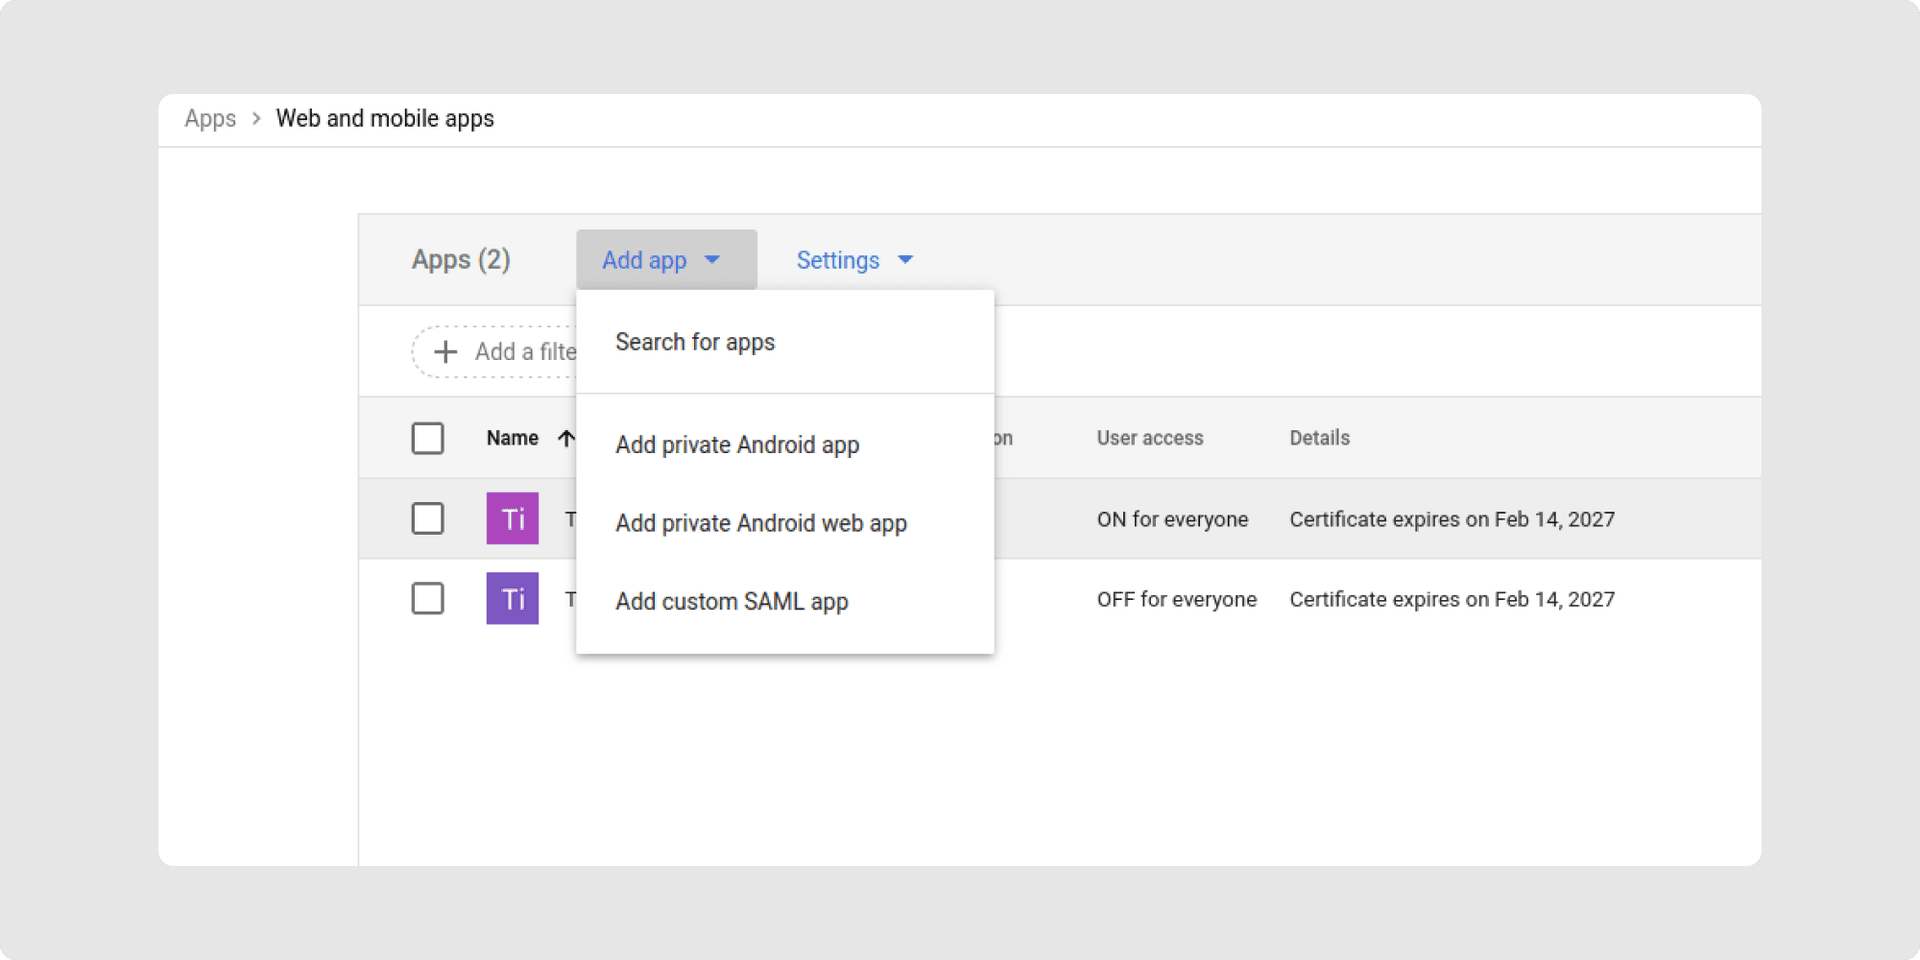
2Open the Main Menu and click on Apps → Web- and mobile Apps.
3Click on add App and choose add custom SAML-App.
4Define a name and description for the app.
5Your IdP metadata is provided in the next step. You must save this information for later use in the TimeTac SSO configuration.
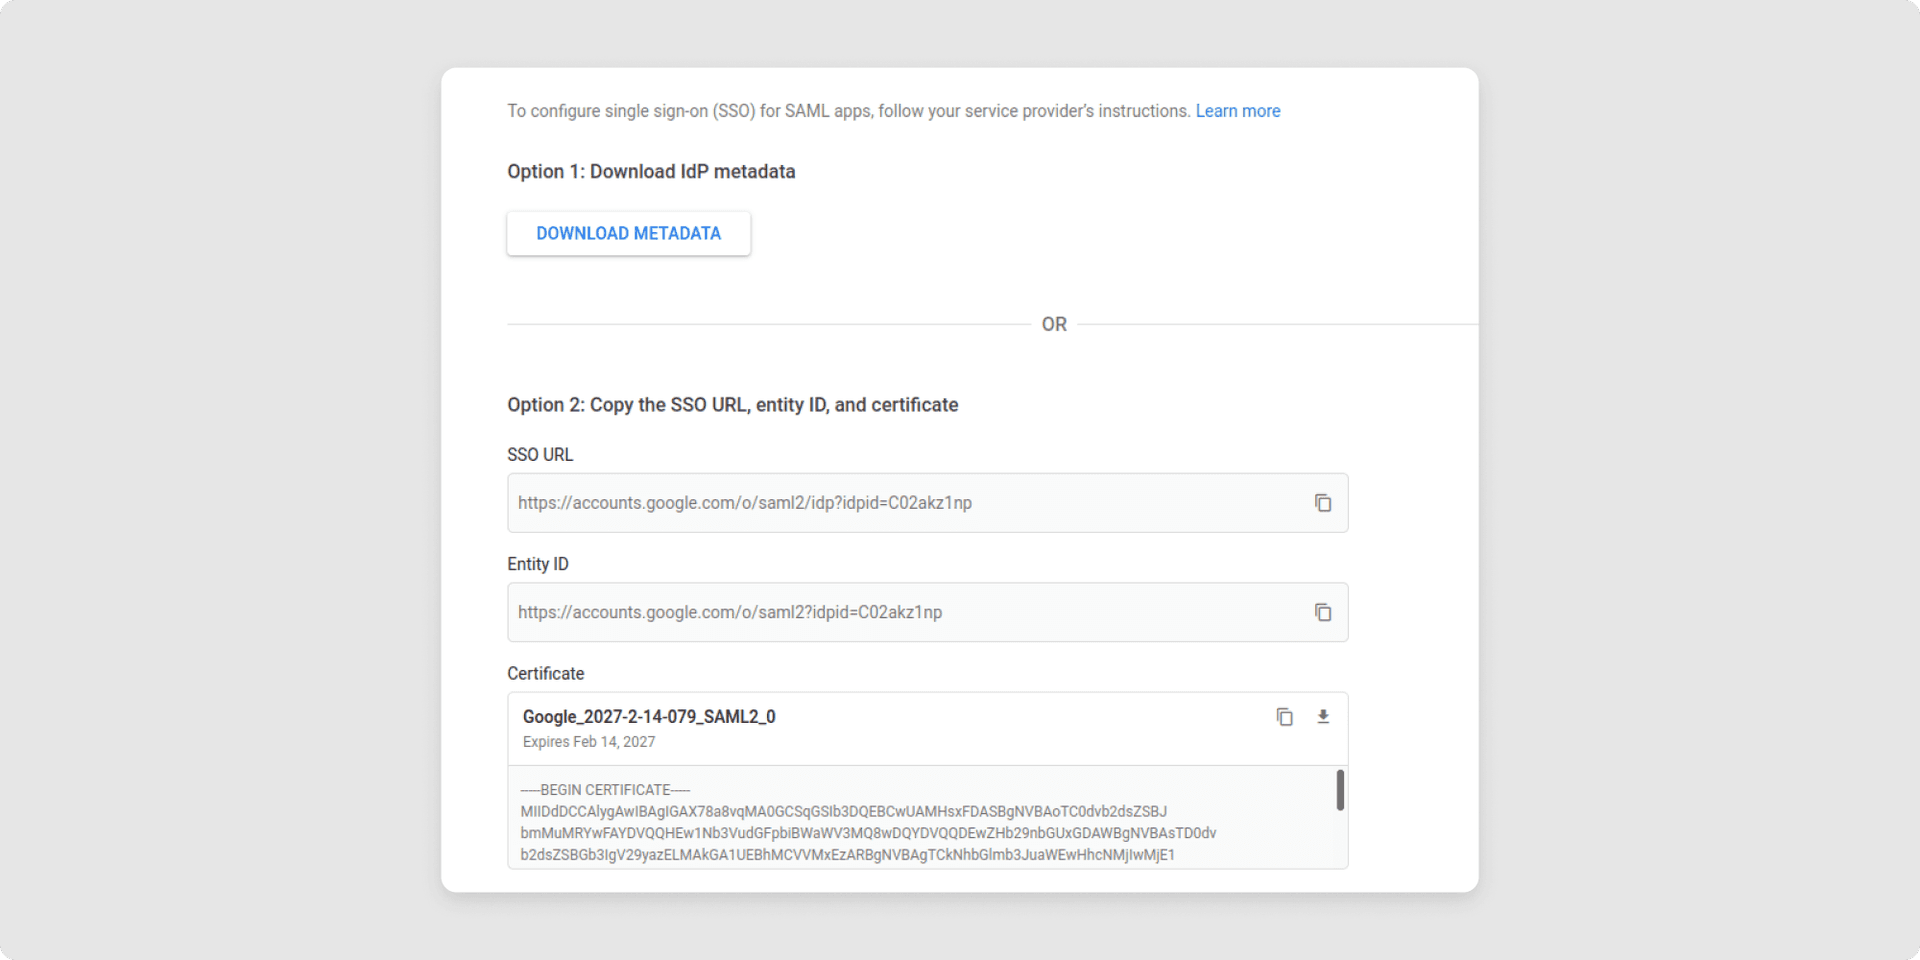
- SSO-URL: required for the fields Login-Url and Logout-Url in the SSO configuration in your TimeTac account
- Entity ID: will be needed to set up SSO in your TimeTac account
- Certificate: copy the string —-BEGIN CERTIFICATE—- and —-END CERTIFICATE—-. Make sure there are no line breaks in that string. That string will be used in the SSO configuration in your Timetac account.
6Define Service Provider Details by defining the Assertion Consumer Service (ACS) and the Entity ID: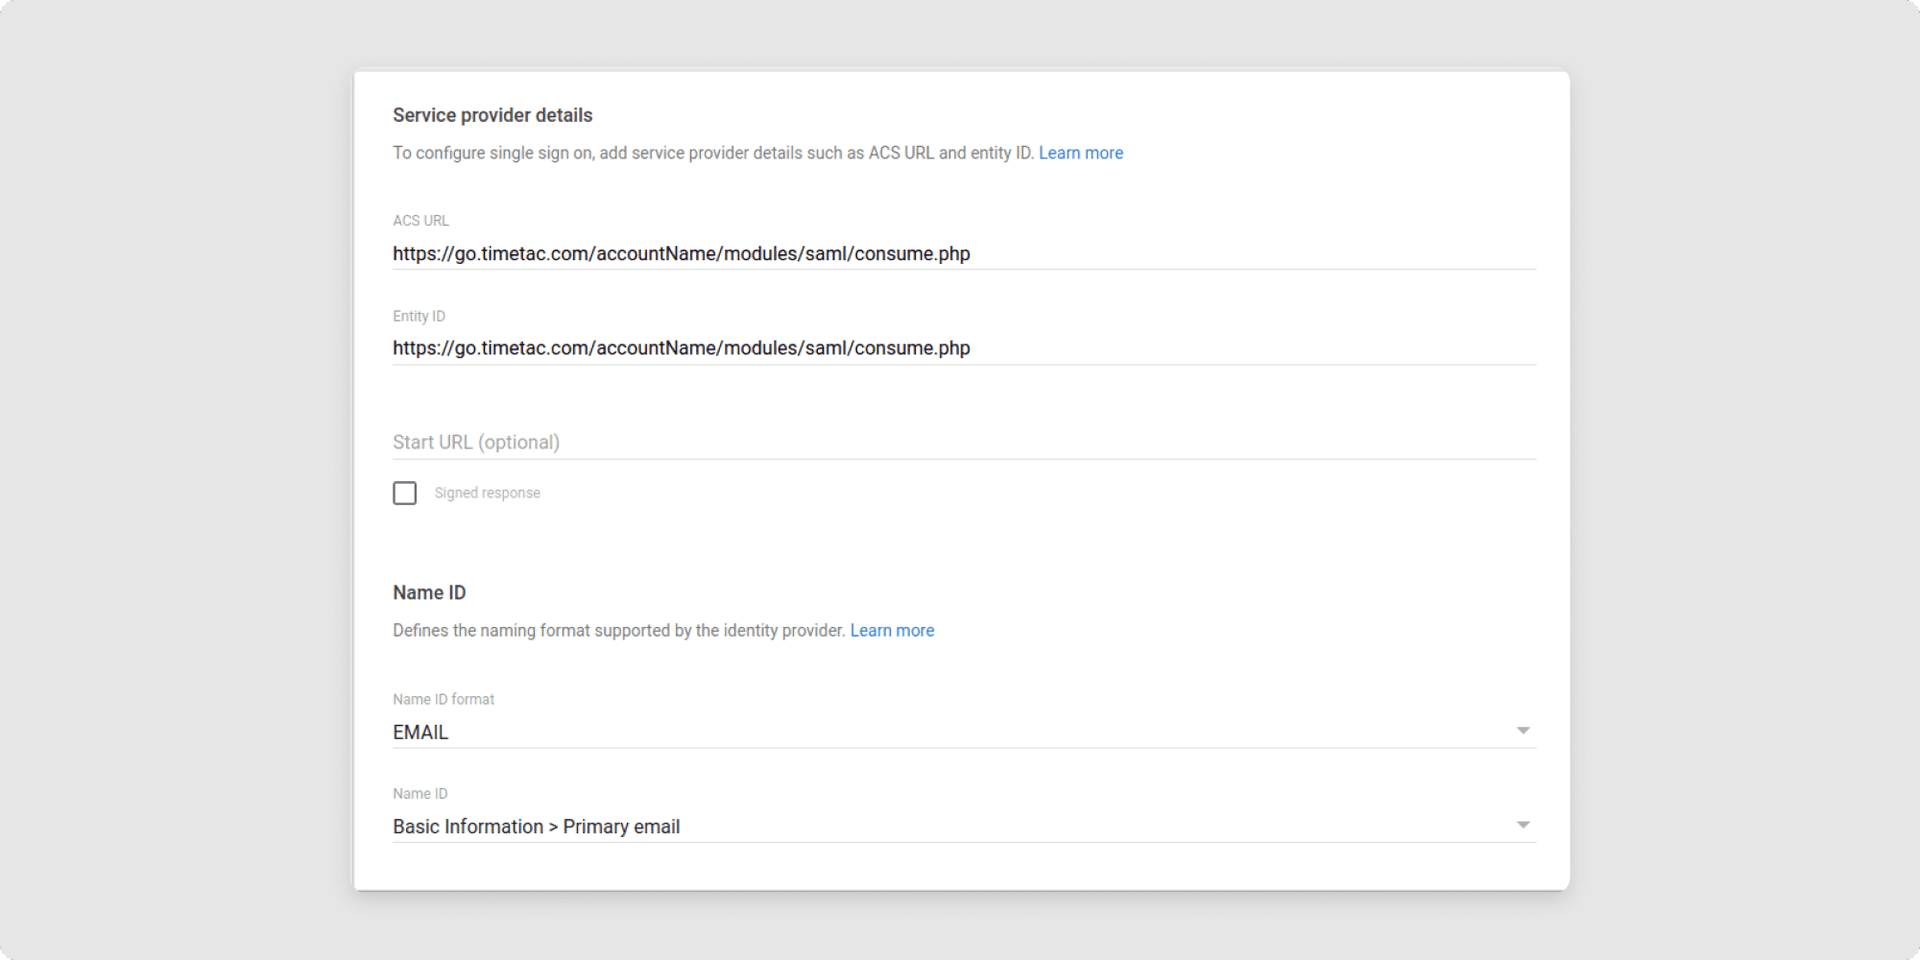
- Entity ID: Please use https://go.timetac.com/{accountName}/modules/saml/consume.php for that field. {accountName} has to be replaced with your TimeTac company account name
- ACS URL: use https://go.timetac.com/{accountName}/modules/saml/consume.php. {accountName} has to be replaced with your TimeTac company account name
- Signed Response must NOT be checked
- Name ID Format: Set it to EMAIL.
- Ensure Name ID is set to Basic Information > Primary email.
7After the last step from a previous part of the tutorial, you are redirected to your new app.By default, the newly created application is OFF for everyone, meaning it will not work for our users. To enable it, change it to ON for everyone.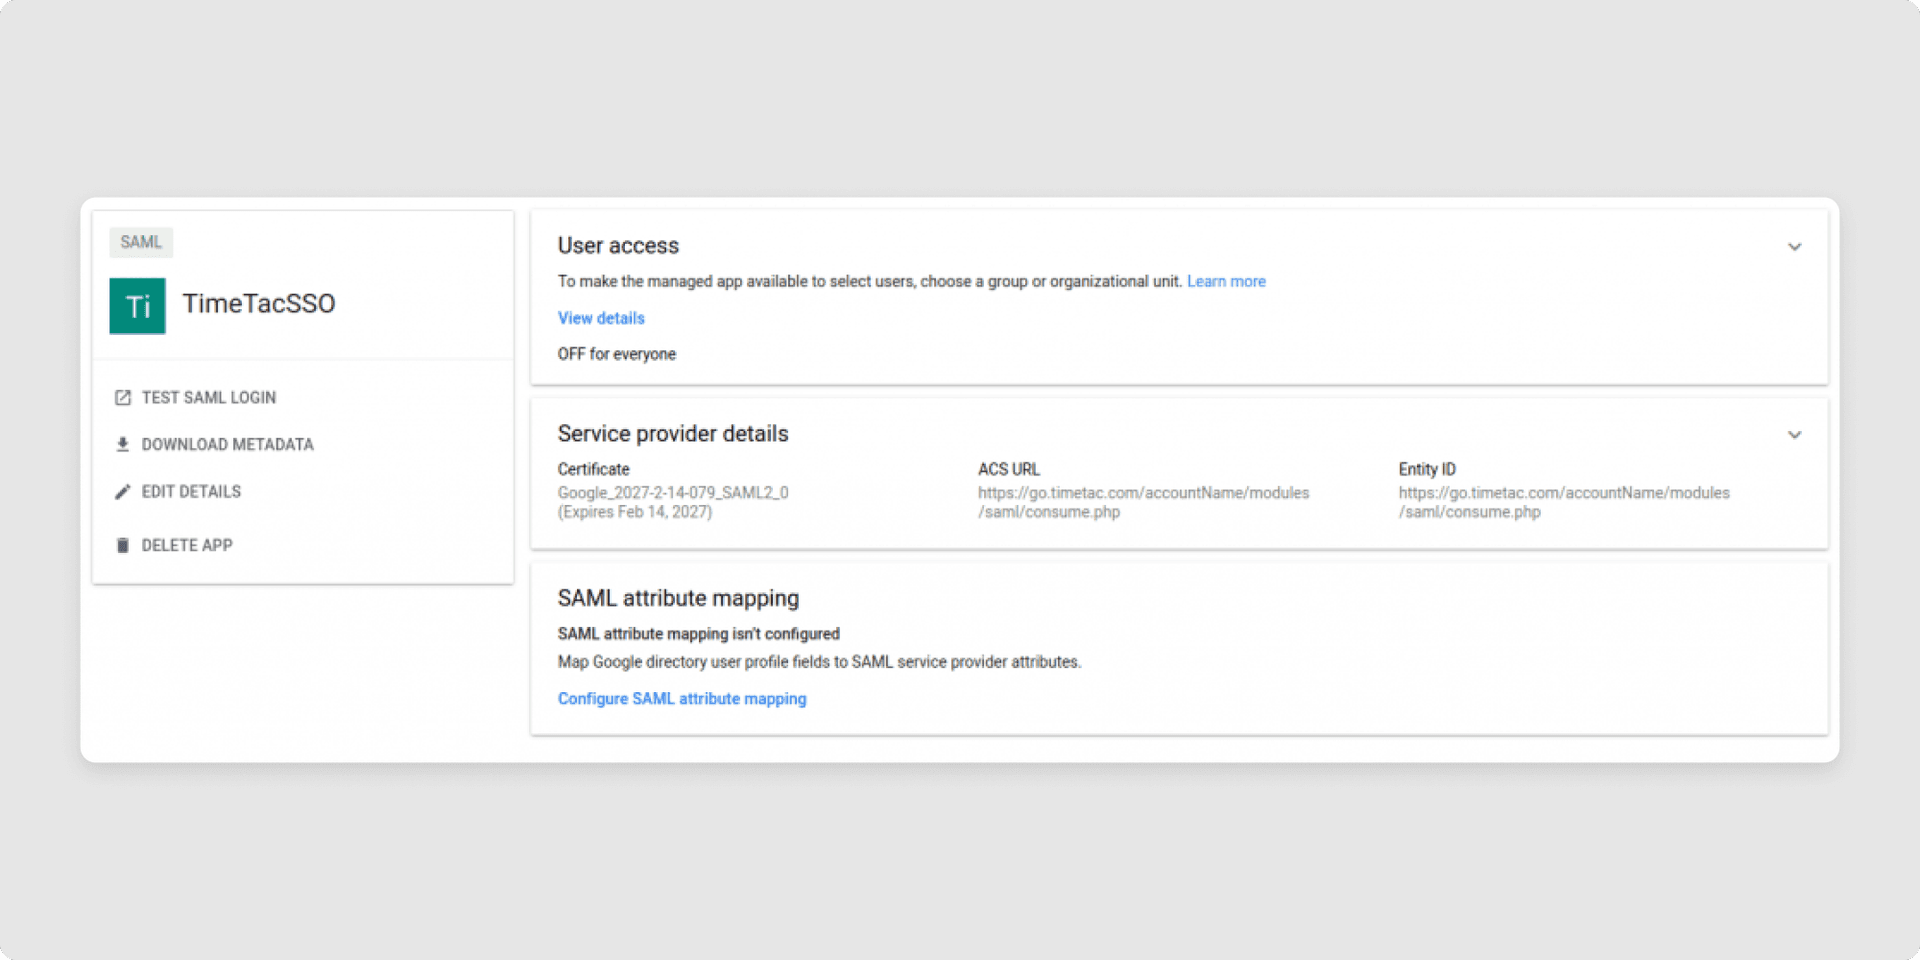
That's how you set up SSO access via Google Workspace.
Was this Article useful for you?
Yes, this was useful
No, this was not useful