All Categories > Learn the Basics > How do I create a Notification Workflow?
How do I create a Notification Workflow?

In this article, you’ll learn how to set up notification workflows to send automated reports directly to your team’s inbox.
This article is intended for Managers and Admins.
1. Create or Add a New Workflow
1Go to the Settings menu.
2Navigate to Workflows.
3Click the Add Workflow button.
4A window with a selection of new workflows will open.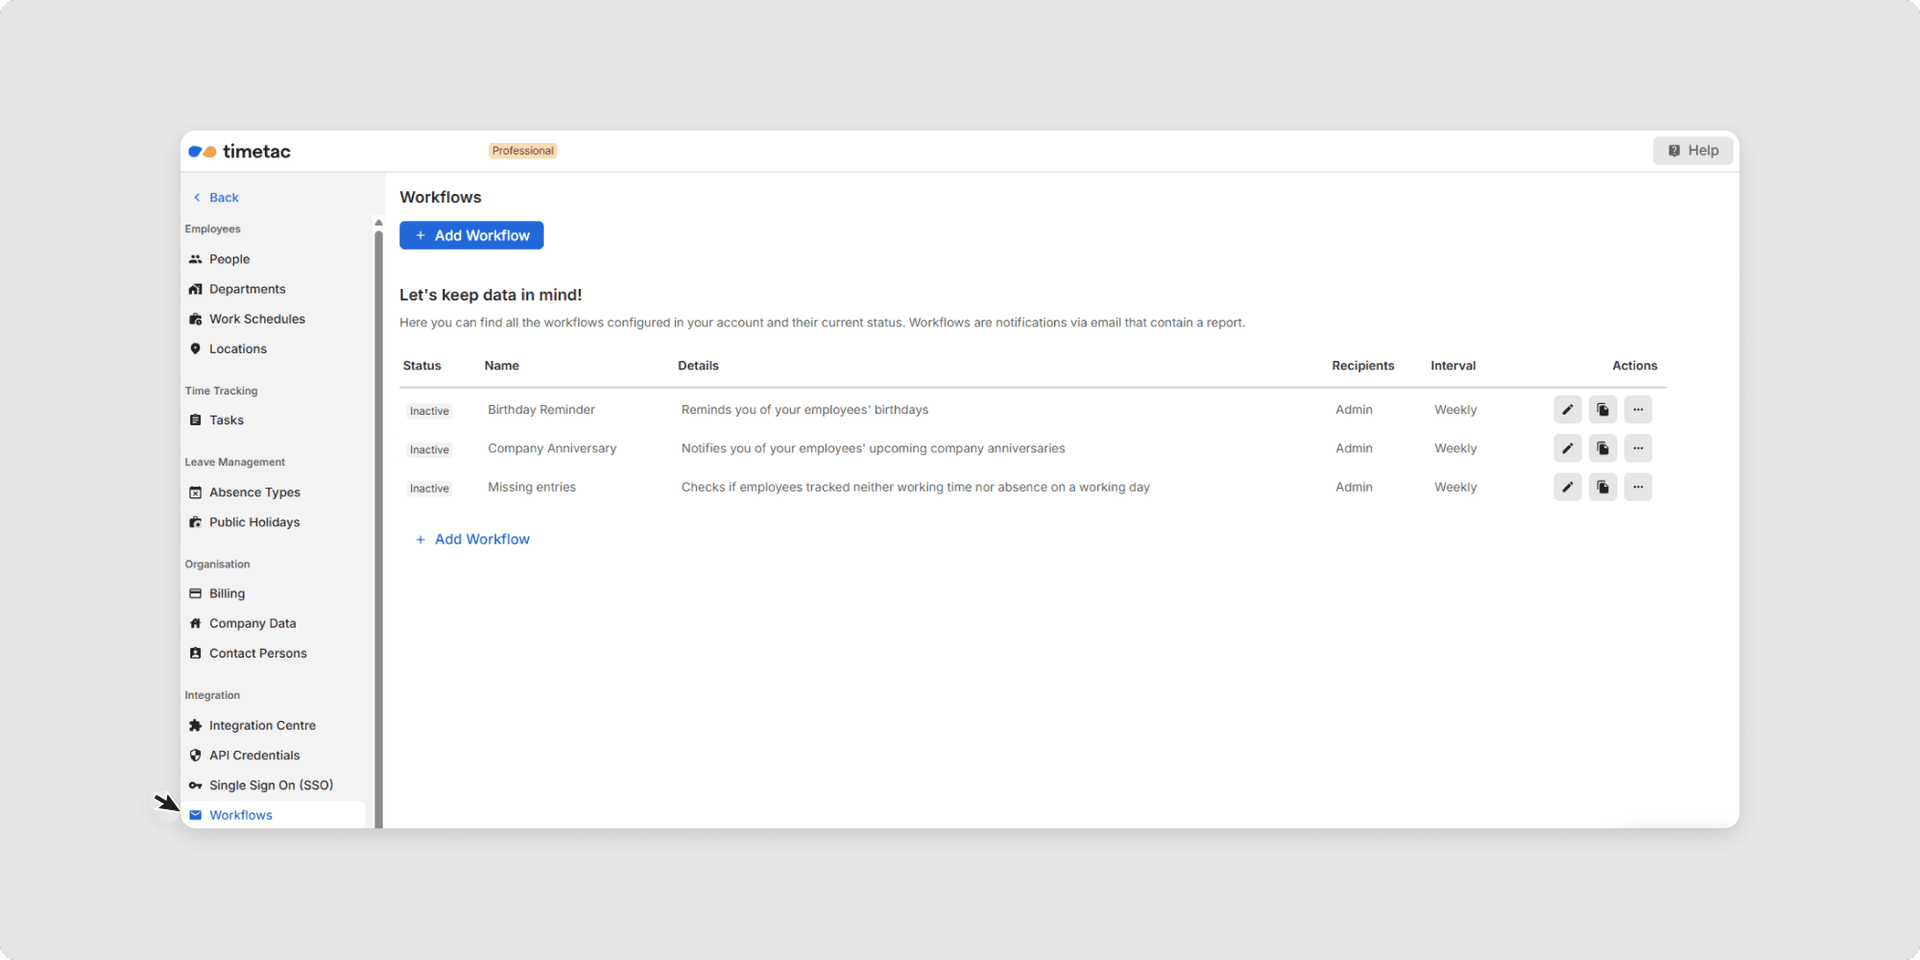
5Select the desired workflow by clicking on it, then click the Continue button.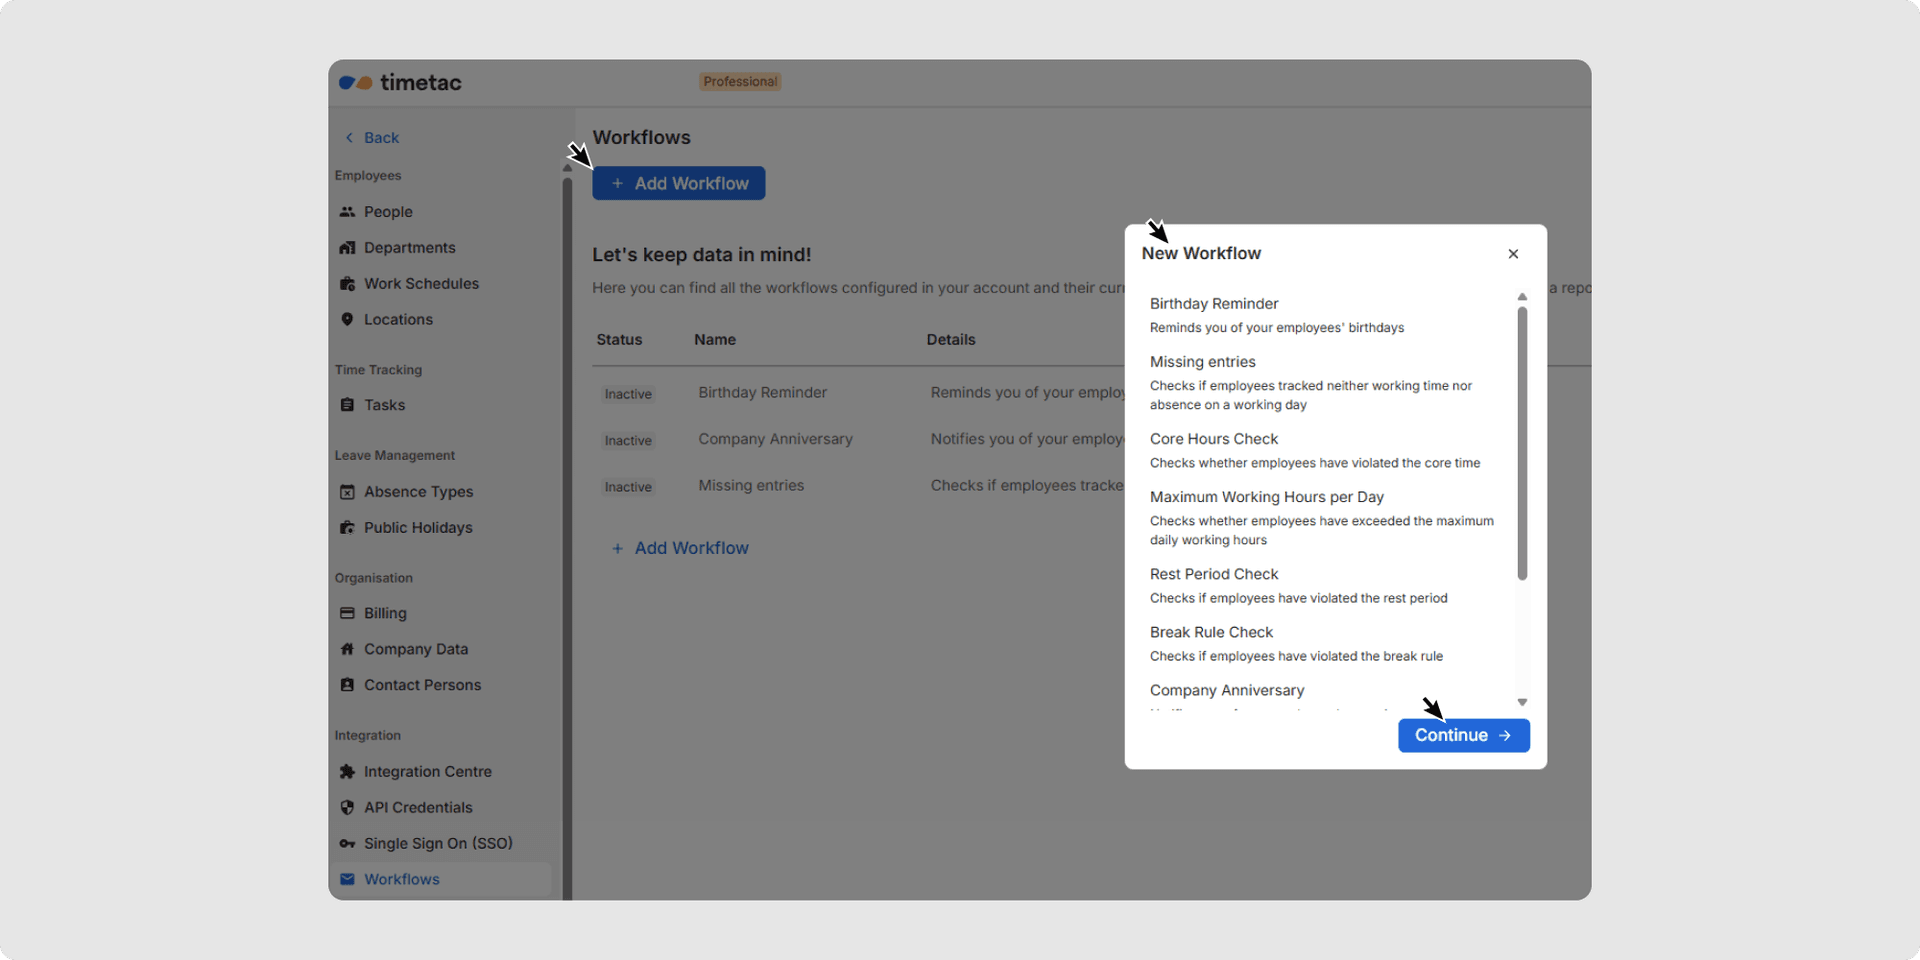
2. Define the Workflow Rules Step by Step
- How often is this sent out to the recipients?
- When should the workflow be executed the next time?
- Which departments should be excluded?
- Which Work Schedules should be excluded?
- What is the observation period?
- Recipients based on role or specific recipients.

3. Activate / Deactivate Workflows
1Go to the Settings menu.
2Navigate to Workflows
3Here you’ll find all notification workflows listed in a table.
- Activate or deactivate a workflow by clicking the menu button.
- Edit the workflow rules by clicking the edit icon (pencil) (see step 2).
- Click the copy icon to duplicate the workflow.

Now you know how to manage your email notification workflows.
Related Articles
Was this Article useful for you?
Yes, this was useful
No, this was not useful